> ## Documentation Index
> Fetch the complete documentation index at: https://docs.roostrr.com/llms.txt
> Use this file to discover all available pages before exploring further.
# Web Widgets
> Embed interactive voice calling widgets directly onto your website in minutes.
Web Widgets allow you to put a click-to-call phone button directly on your website. Visitors can tap the button to speak with your voice agents immediately inside their browser, utilizing WebRTC for ultra-low latency without dialling a telephone number.
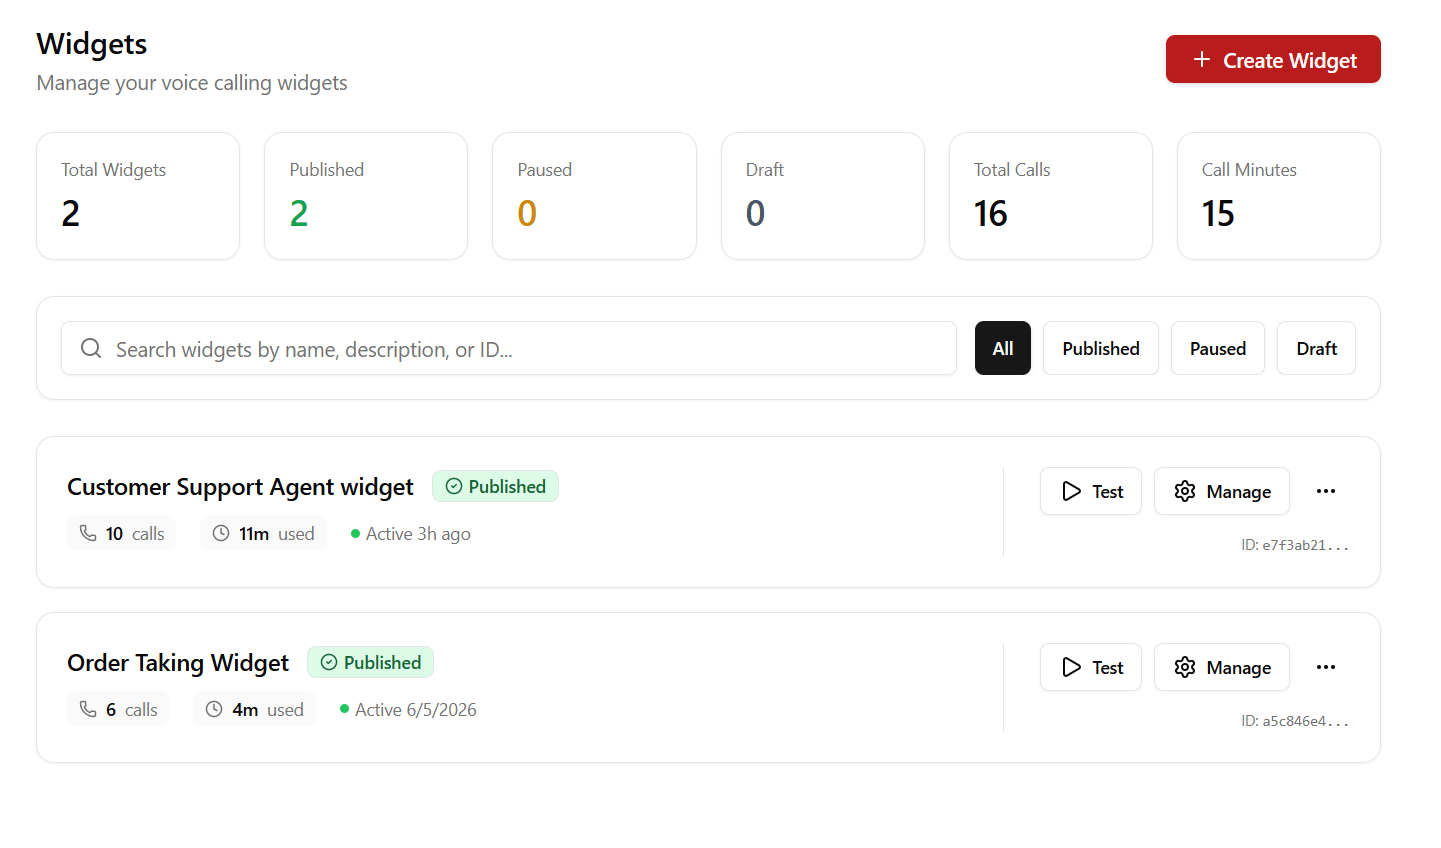
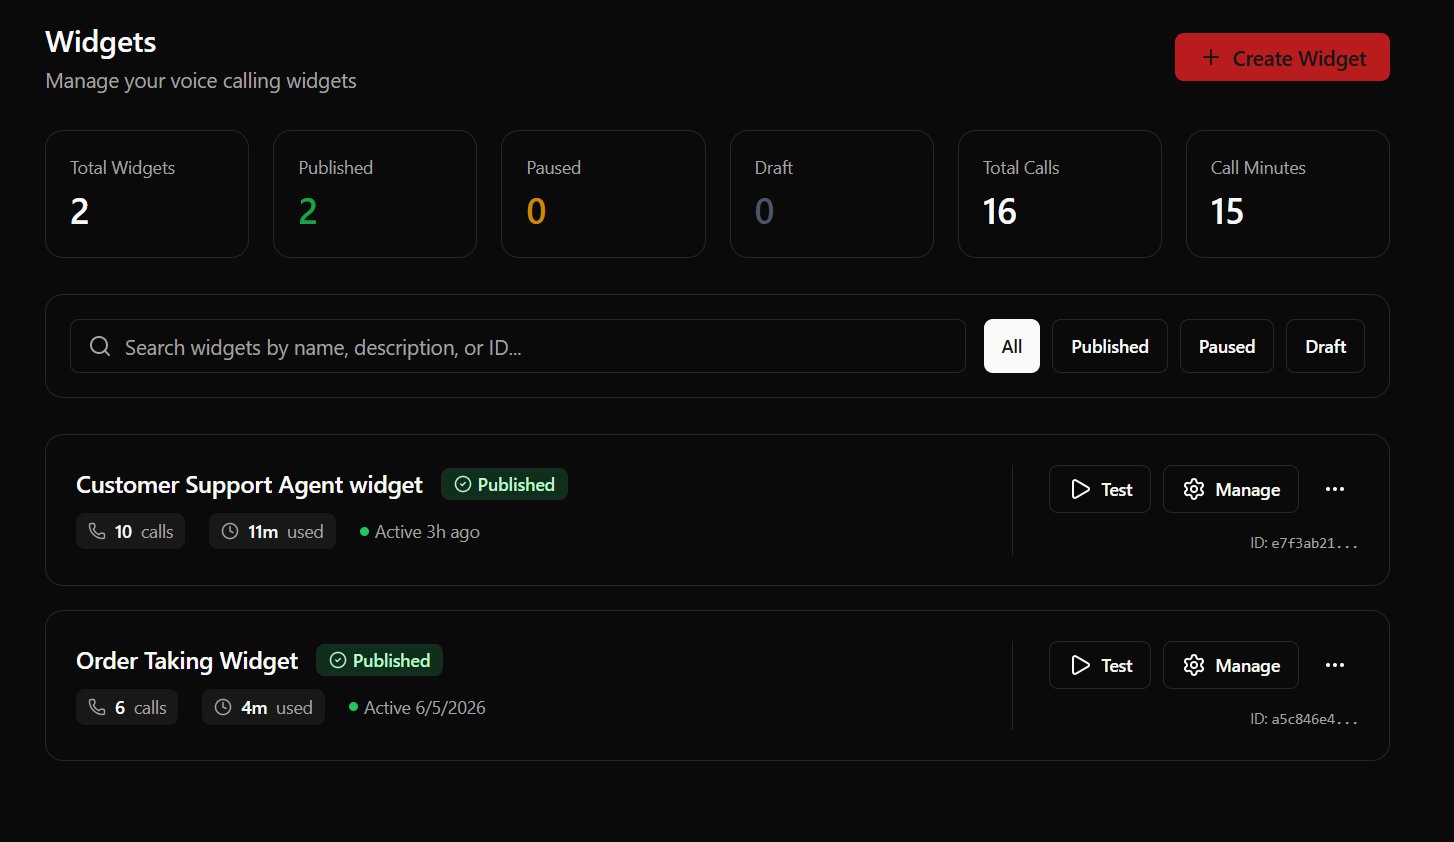 ## Managing Widgets
### Creating a Widget
1. Navigate to the **Widgets** tab in your dashboard.
2. Click **Create Widget**.
3. Choose the target **Voice Agent** or **Restaurant Worker** to handle calls from this widget.
4. Customize the name, description, and status settings.
### Testing in the Playground
Before pasting embed snippets into production sites, you can click **Test Widget** on any row to open the browser calling simulator, verifying that microphone access and conversation flows operate correctly.
***
## Integrating onto Your Website
To deploy your widget, copy your **Widget ID** and copy one of the embed codes below. Replace `YOUR_WIDGET_ID` and `YOUR_API_KEY_HERE` with your actual credentials.
### 1. HTML / JavaScript
Place this script snippet right before your closing `` tag:
```html theme={null}
## Managing Widgets
### Creating a Widget
1. Navigate to the **Widgets** tab in your dashboard.
2. Click **Create Widget**.
3. Choose the target **Voice Agent** or **Restaurant Worker** to handle calls from this widget.
4. Customize the name, description, and status settings.
### Testing in the Playground
Before pasting embed snippets into production sites, you can click **Test Widget** on any row to open the browser calling simulator, verifying that microphone access and conversation flows operate correctly.
***
## Integrating onto Your Website
To deploy your widget, copy your **Widget ID** and copy one of the embed codes below. Replace `YOUR_WIDGET_ID` and `YOUR_API_KEY_HERE` with your actual credentials.
### 1. HTML / JavaScript
Place this script snippet right before your closing `` tag:
```html theme={null}