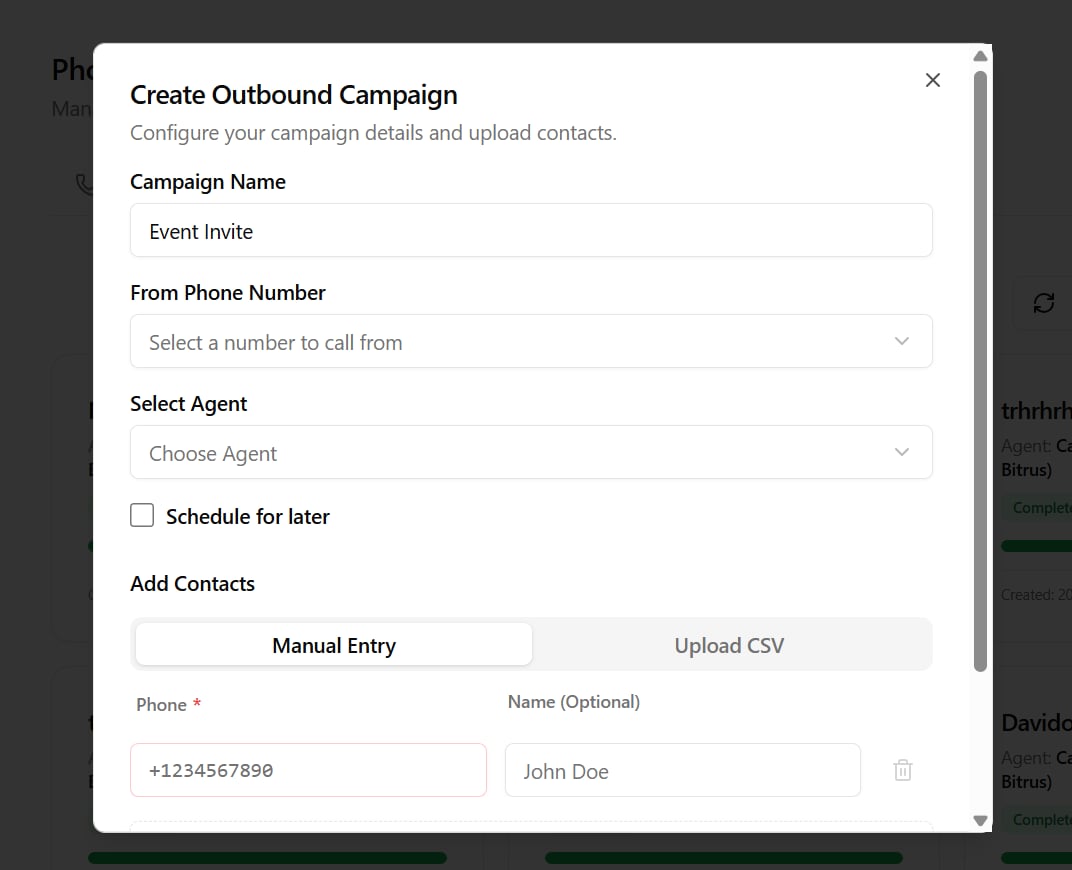
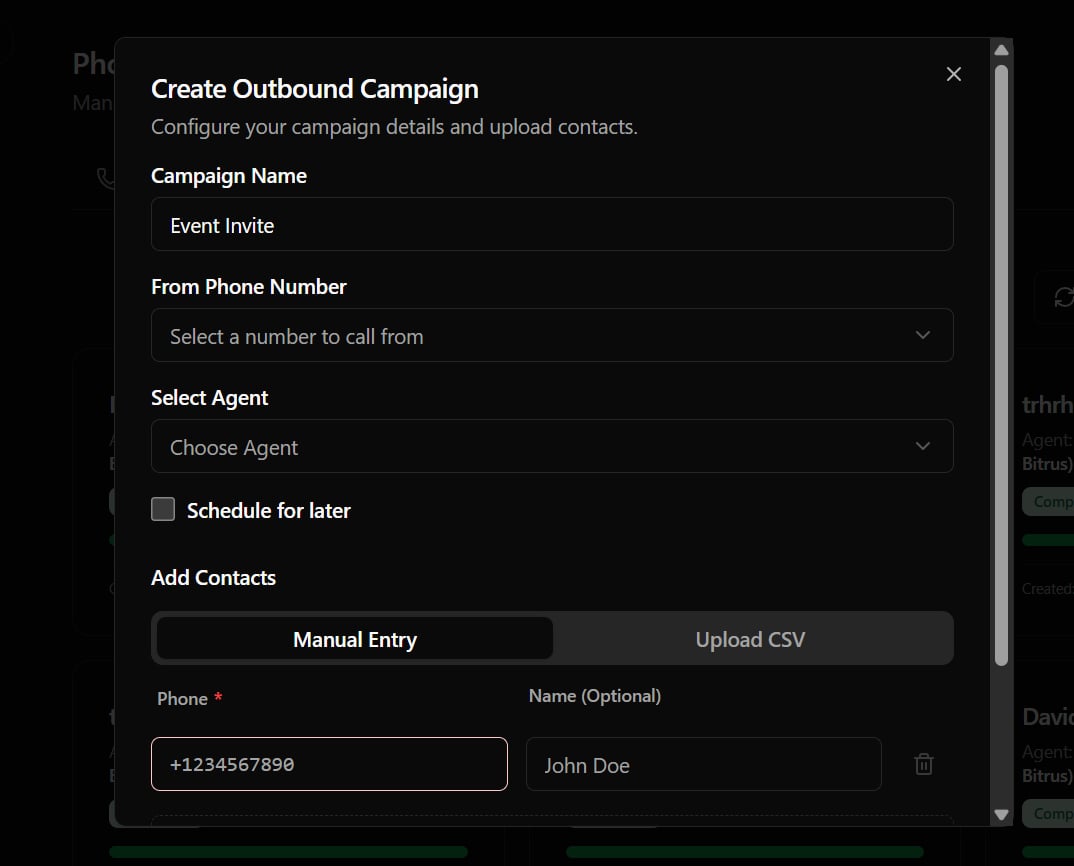
Creating a Campaign
- Navigate to the Phone tab in your dashboard, select Campaigns, and click New Campaign.
- Configure the campaign fields:
- Campaign Name: A descriptive label.
- For Voice Agent: Select the custom agent or restaurant worker who will speak with the contacts.
- Caller ID Number: Select the outbound phone number from your active rented pool.
- Schedule Campaign: Toggle this to define a future date/time to start placing calls.
Contact Input Methods
You can supply your contact list in one of two ways:1. Manual Entry (Quick Test)
Add rows directly in the UI.- Details: Type the contact’s name and phone number (e.g.
+1...or+234...). - Limit: Up to
5manual contacts are allowed per campaign.
2. CSV File Upload (Bulk Dialing)
Upload a spreadsheet (.csv) containing your contact database (up to 5MB).- CSV Format: Ensure your columns include
phone(with country code) andname(used by the agent for greetings). You can add custom columns (e.g.order_id) to inject dynamically into your agent prompts:
Managing Active Campaigns
Once a campaign is started, you can manage it in real time from the dashboard:- Pause / Resume: Temporarily stop dialing queue items or resume them.
- Retry Failed Contacts: Click the Retry icon to launch a follow-up sub-campaign containing only contacts that were unreachable, busy, or failed.
- Progress & Metrics: Track real-time completion percentages, successful calls, and failed dialing attempts.
- View Logs: Inspect details for individual contacts, including call durations, status badges, and logs.
Concurrency Limits
The speed of outbound dialing is determined by your organization’s concurrency limits:- Outbound dialing lines default to
1active call at a time. - If you need to dial multiple contacts simultaneously, navigate to the Settings > Billing dashboard to add concurrent call slots to your subscription.