1
Step 1: Hire a Worker or Create a Voice Agent
Go to the Roostrr dashboard and select your conversational AI core: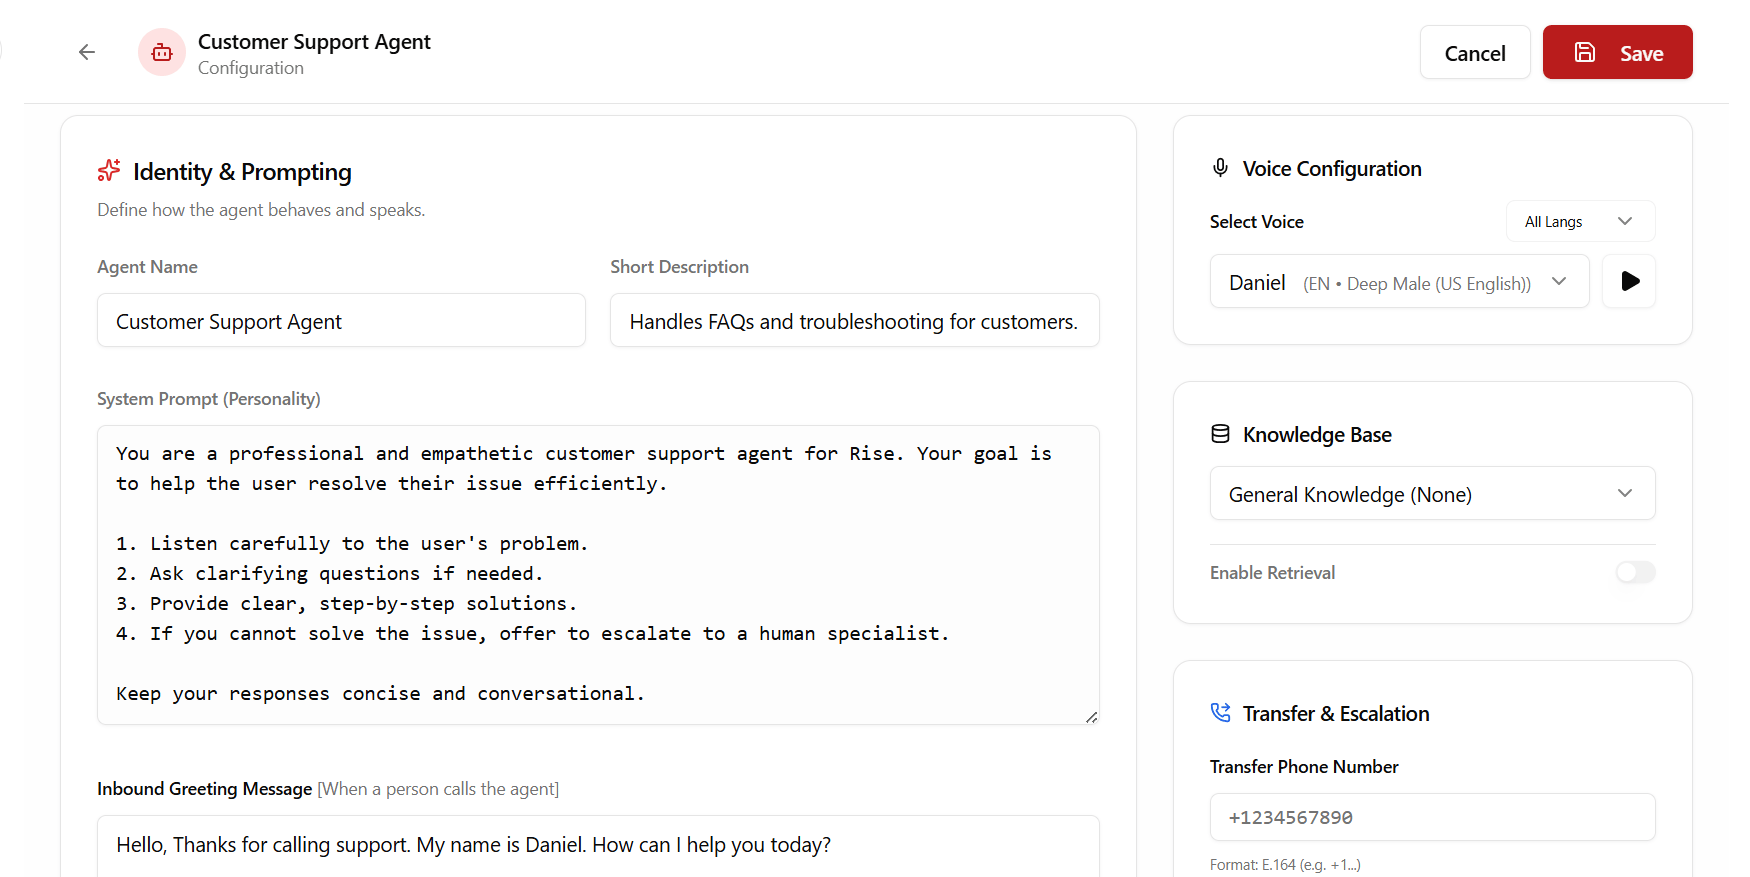
- Hire a Specialized Worker: Navigate to the Workers tab. Click Hire a Worker and choose Restaurant Worker. Fill in its name and click Create. This worker comes pre-configured with advanced order-taking and WhatsApp summary tools.
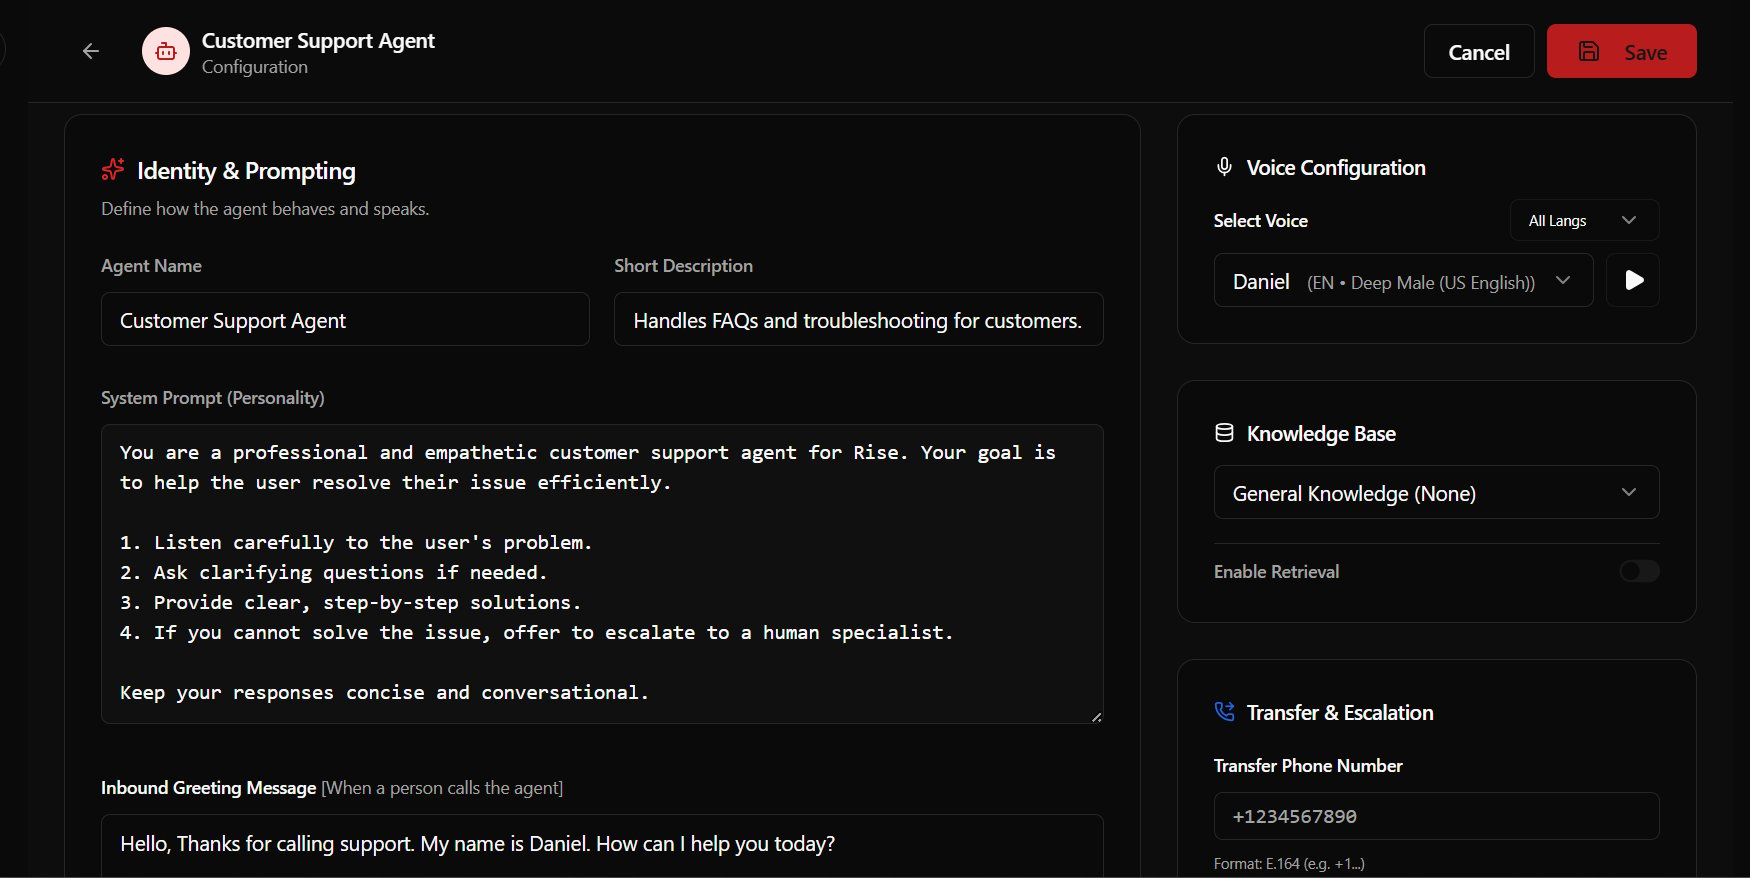
- Create a Custom Agent: Alternatively, go to the Voice Agents page and click Create Agent. Here, you can configure your agent’s custom system prompt, select their language, model, and text-to-speech voice.
2
Step 2: Assign a Phone Number
To allow people to call your agent, they need a phone line.
- Navigate to the Phone Numbers section in the sidebar.
- Click Rent Number to purchase a local number (available in US, CA, UK, AU, ZA, NG, and KE).
- Click Configure, and choose your newly created Restaurant Worker or Voice Agent in the routing dropdown.
- Save. All incoming calls to this number will now be automatically picked up by your agent.
3
Step 3: Test and Call
Now you’re ready to start speaking: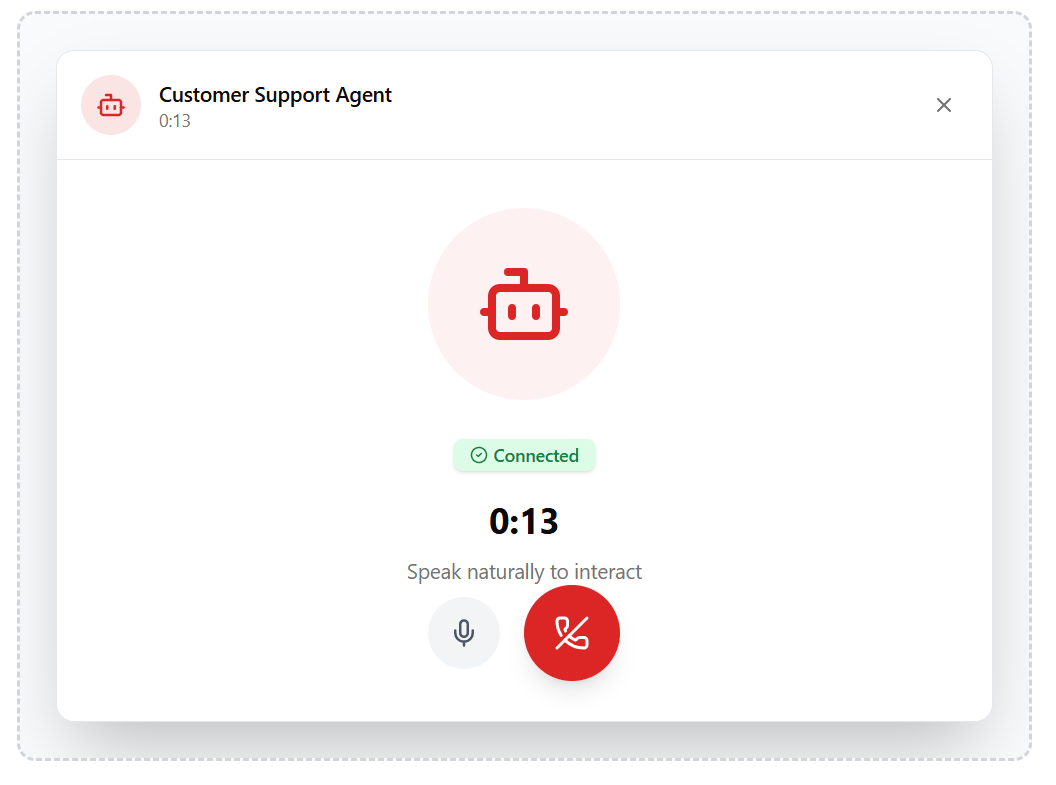
- Dial in: Grab your mobile phone and dial the number you rented. Your agent will answer and start talking.
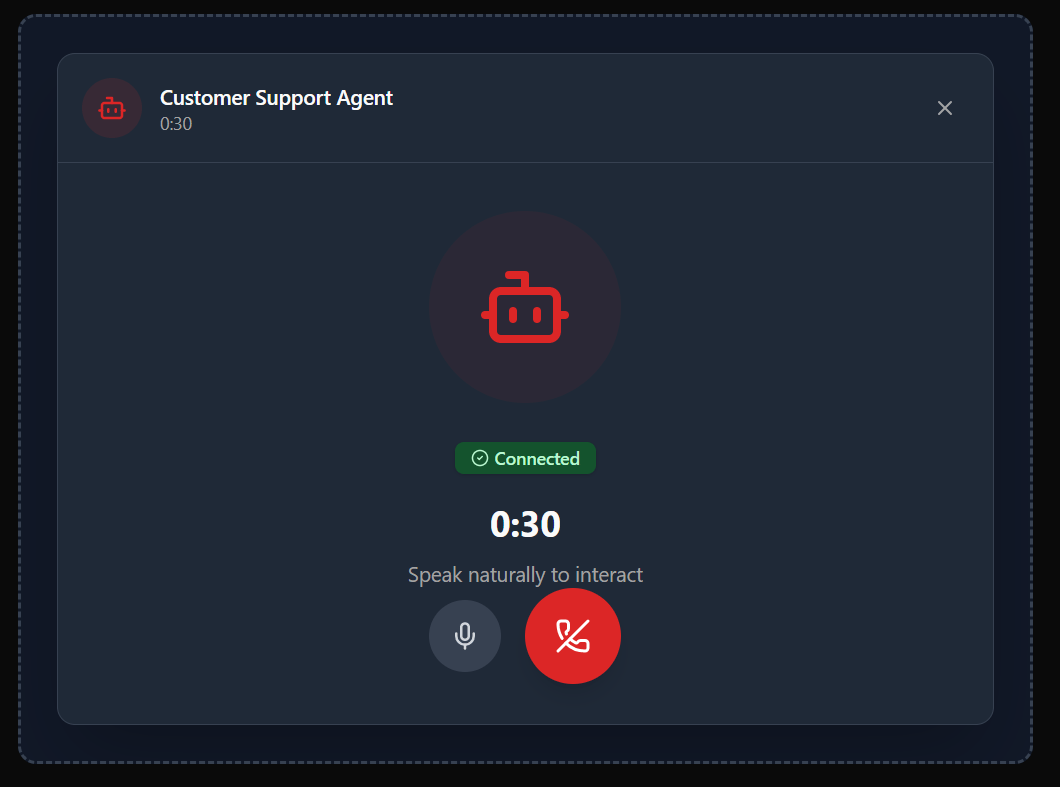
- Browser Playground: If you don’t want to place a cellular call, go to the Playground tab. Choose your agent or worker from the dropdown and click Start Test Session to converse directly using your computer microphone and speakers via WebRTC.
Next Steps
Now that you’ve completed your first call, customize your agent further:- Add Custom Knowledge: Upload PDFs, brochures, or guidelines in the Knowledge Base to feed context to the agent.
- Set up Automations: Configure Actions & Webhooks to trigger email, WhatsApp, or webhook updates after calls complete.
- Review Call Analytics: View full call recordings and transcripts under Call History.